 Orellana Crawl Space
How to Air Out the Space and Dry It the Right Way After Material Is Taken Out
After insulation removal, the next step is to move damp, stale, or dusty air out and help the space dry fast. Good airflow lowers the chance of mold, odors, and trapped moisture. In many homes in Charlotte, NC, this means using fans, opening the right vents or windows, and checking that the area is fully dry before new material goes in. A simple plan helps the space dry better and keeps later repairs from turning into a bigger job.
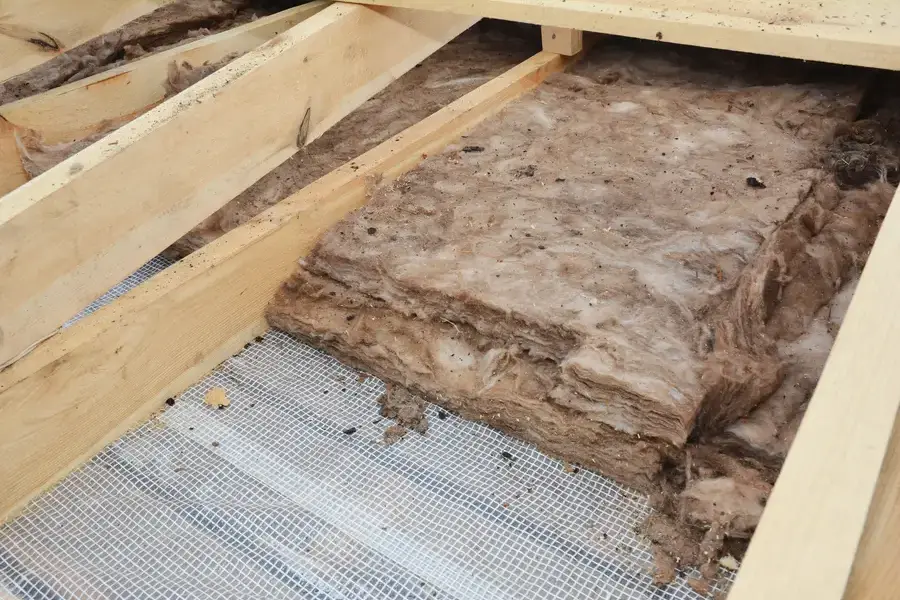
What You Need Before Starting
Before you begin, gather a few basic items and check the area for safety. This is very helpful after insulation removal in an attic, crawl space, garage, or wall cavity. If the space had wet insulation, animal activity, or a roof or pipe leak, drying should start as soon as the damaged material is gone.
You may need items from the general service category, along with basic cleanup and drying tools. Keep the process simple and focused on airflow, moisture control, and clean conditions.
- Box fans or air movers
- A dehumidifier
- Work gloves and a dust mask
- Trash bags for loose debris
- A flashlight
- A moisture meter, if available
- Plastic sheeting to block off other rooms if needed
Make sure power is safe to use before plugging in fans. If the area has active leaks, standing water, or damaged wiring, stop and get help first.
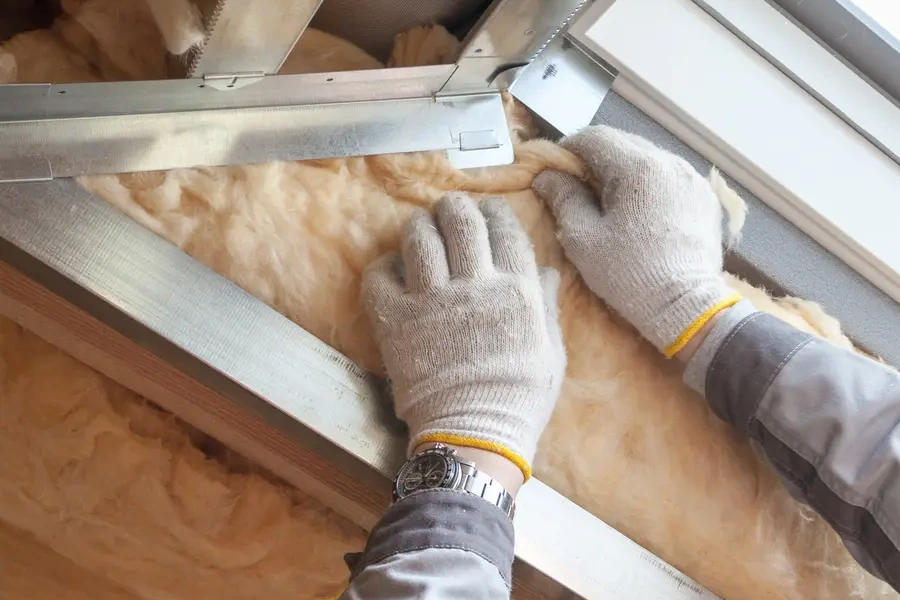
Step-by-Step Process
The best post removal ventilation and drying strategies follow a clear order. Drying too slowly can trap moisture in wood, drywall, or framing. Drying the right way can help the space stay clean and ready for new insulation.
- Remove all loose debris and bag it up
- Find the source of the moisture and fix it first
- Open vents, access doors, or windows if outdoor air is dry enough
- Set fans to move air across wet surfaces, not just into open space
- Place a dehumidifier nearby to pull water from the air
- Check corners, framing, and subfloors for damp spots
- Keep air moving for at least a full day, longer for heavy moisture
- Test dryness before closing the area or adding new material
For example, if insulation removal happened after a small roof leak in an attic, start by fixing the leak. Then aim fans across the roof deck and rafters. If the weather is humid, closing windows and using a dehumidifier may work better than bringing outside air in.
Common Mistakes to Avoid
Many drying problems come from simple mistakes. One common issue is replacing insulation too soon. If wood or drywall still holds moisture, that dampness can stay hidden. Another mistake is using only one fan in a large area. Air needs to move across all damp surfaces, not just one section.
People also forget to check low spots and tight corners. Crawl spaces, wall bottoms, and attic edges may stay wet after the center looks dry. Skipping a follow-up check can lead to musty smells later. It also helps to avoid closing the area up at night if the air still feels damp.
Do not rely only on smell. A space can seem better while still holding moisture in framing or sheathing. A moisture meter gives a better answer than guessing.
When Simple Drying Works and When It Does Not
Simple drying works best when the wet area is small, the moisture source is fixed, and the mess was handled quickly. This may be the case after minor insulation removal from one attic section or one wall bay. With enough airflow and dry air, many spaces improve well.
But some jobs need more than fans and open windows. Large wet areas, strong odor, visible mold, sewage, or soaked framing can call for special drying equipment and cleanup steps. If the space had repeated wetting, there may be hidden damage behind walls or under floors.
A professional can also help if the area is hard to reach or unsafe to enter, such as a tight crawl space or high attic with damaged decking. That matters because drying the visible surface is not always enough. Materials behind it may still be wet.
Best Practices for Better Long-Term Results
Good results come from speed, airflow, and fixing the source of the problem. After insulation removal, keep the area clean so dust does not block air movement. Spread fans out instead of pointing them all from one spot. Empty the dehumidifier as needed, or run a hose to a drain if the unit allows it.
Check the area more than once each day if drying is active. Look for dark spots, damp wood, peeling surfaces, or a stale smell that does not fade. If outdoor weather is wet, using inside drying equipment may work better than opening windows. If outdoor air is dry and mild, fresh air may help speed things up.
It also helps to think ahead before new insulation goes in. The area should be dry, clean, and free from active leaks. Attic vents, crawl space vents, bathroom exhaust fans, and roof drainage should all work as they should. That lowers the chance of the same issue coming back.
When to Call a Professional
You should call a professional if the space stays damp after a day or two of drying, if mold is visible, or if the source of moisture is still not clear. Help is also smart when insulation removal uncovered rot, stained framing, damaged drywall, or signs of animal nesting. Larger jobs often need stronger air movers, better moisture testing, and a full plan for cleanup and rebuild timing.
Another reason to call is if you are not sure whether the area is safe for new insulation. A quick check by a trained team can help prevent repeat moisture problems and wasted material.
Get Help With the Next Step
If you are dealing with a damp attic, crawl space, or wall area in Charlotte, NC, reach out for guidance before the space is closed up again. At Orellana Crawl Space, we can inspect the area, help with insulation removal needs, and explain the next steps for drying and cleanup. Call us at (980) 327-6424 to talk about what is going on and how we can help.